As the post below states, Simon and I are engaged! yay!! He proposed on our 5 year anniversary and the ring could not be more beautiful. I am happy beyond belief : )
We're going to do a long engagement, hopefully getting married sometime in Spring 2013 - which is great, because I would love the wedding to be mostly DIY; and two years gives me plenty of time to try out some crafts.
Mostly, I'd like to tie in some vintage books in to the overall decor of the wedding. One idea I've had is to punch out paper hearts and scatter them around whatever we end up using as centerpieces. And what luck! Martha Stewart makes a
heart-shaped paper punch!
Super easy and surprisingly entertaining to use. The little heart shaped punch comes in two pieces, a base and a punch, in between which you place the paper. Each piece has magnets which attract each other to prevent the paper from slipping or moving during the punching process.

The intended purpose of the punch is to make a negative design on the paper to be used - which is why it comes with a small border of dots. I, however, am just saving the would-be trash...and vacuuming up all the little dots.

See! beautiful! I have the amount of about 1/3 of a sandwich bag right now. I love the way they look, and it makes for a pleasant craft while watching TV. I hope to fill the sandwich bag and use them in the wedding in one way or another.

* I am using an old copy of my favorite text - Jane Eyre - of which I have numerous editions. It's sort of a twisted and dark love story, so the text on the hearts is certainly not gushymushysquishyloveydovey text.
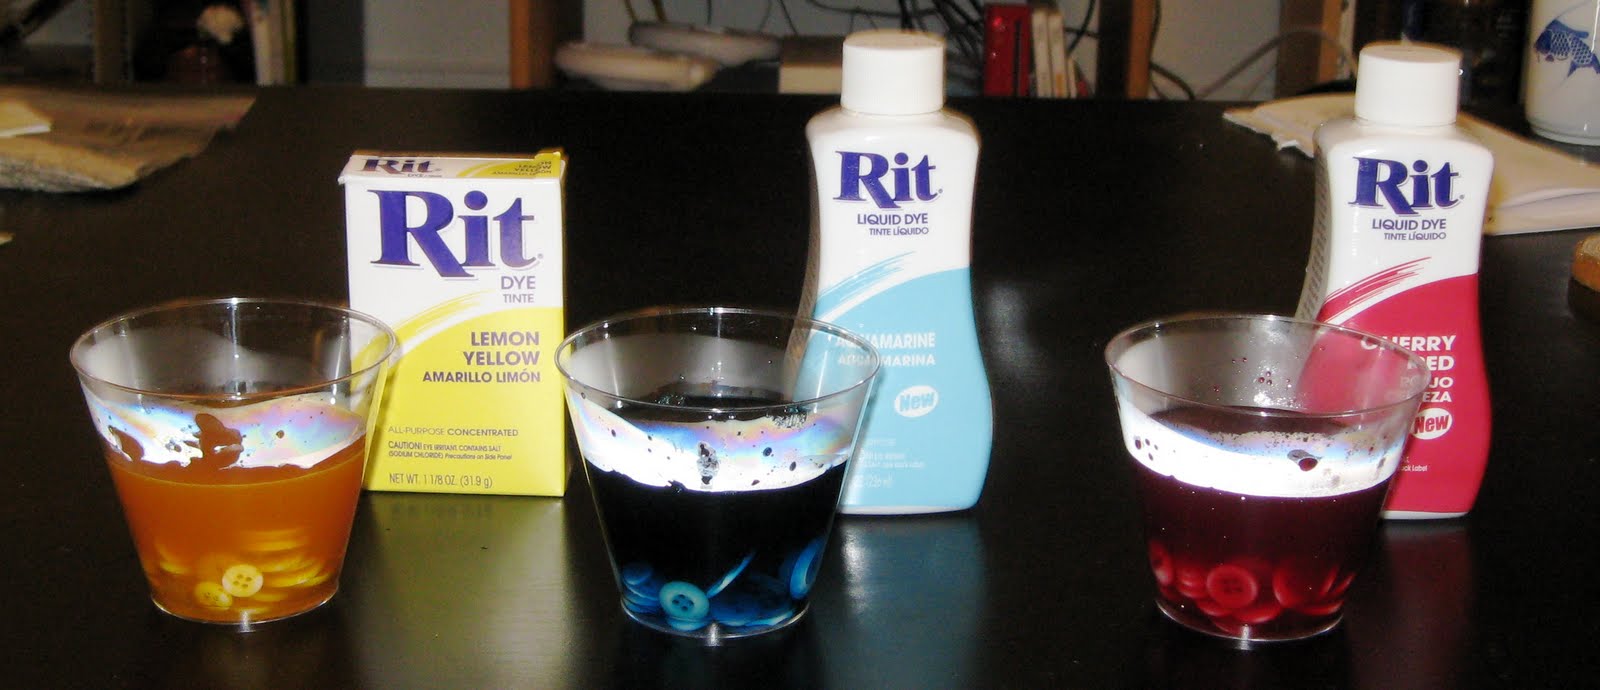 The box is a powder dye which is far more concentrated than the liquid, so it requires less to achieve the desired color.


