Tuesday, September 7, 2010

Thai Chicken Curry

o.m.g. delicious.

A while back, our friend Erica Saint Clair wrote a cookbook: Paleolicious. I had not been able to cook any of the recipes until the other night when Simon and I were looking for something fun to cook in our new kitchen! This recipe for Thai Chicken Curry is fantastic, absolutely delicious and really super easy.

Ingredients:

1 1/2 pounds boneless skinless chicken breast
Crush red pepper
Black pepper
Olive Oil
1 inch ground ginger
1 diced small onion
1 sliced red bell pepper
3 sliced cloves of garlic (we used 2 because our garlic was very big)
1 tbsp honey
1 cup chicken broth
1 cup unsweetened coconut milk (we bought sweetened for no particular reason other than we didn't realize it was supposed to be unsweetened...and boy did we love the sweet taste!)
1 packet curry powder


Sprinkle the chicken with the red and black pepper and cook in a little oil. Our chicken was a little big so this took some time.

Once that was finally complete and Simon and I were positive that we weren't going to eat raw meat, the chicken was removed and the onions were placed in the very same pan:


We sauteed them for a while, mostly because we're not big fans of very onion-y dishes.

Next, the pepper and garlic were added and they sauteed for about 2 minutes.

And then put everything in the pot! Coconut milk, honey, broth, ginger, curry powder, everything. Stir until it boils, turn the heat down to medium and then let it simmer until about half of the liquid reduces.

It turns a really pretty shade of gold, and began to smell delicious.
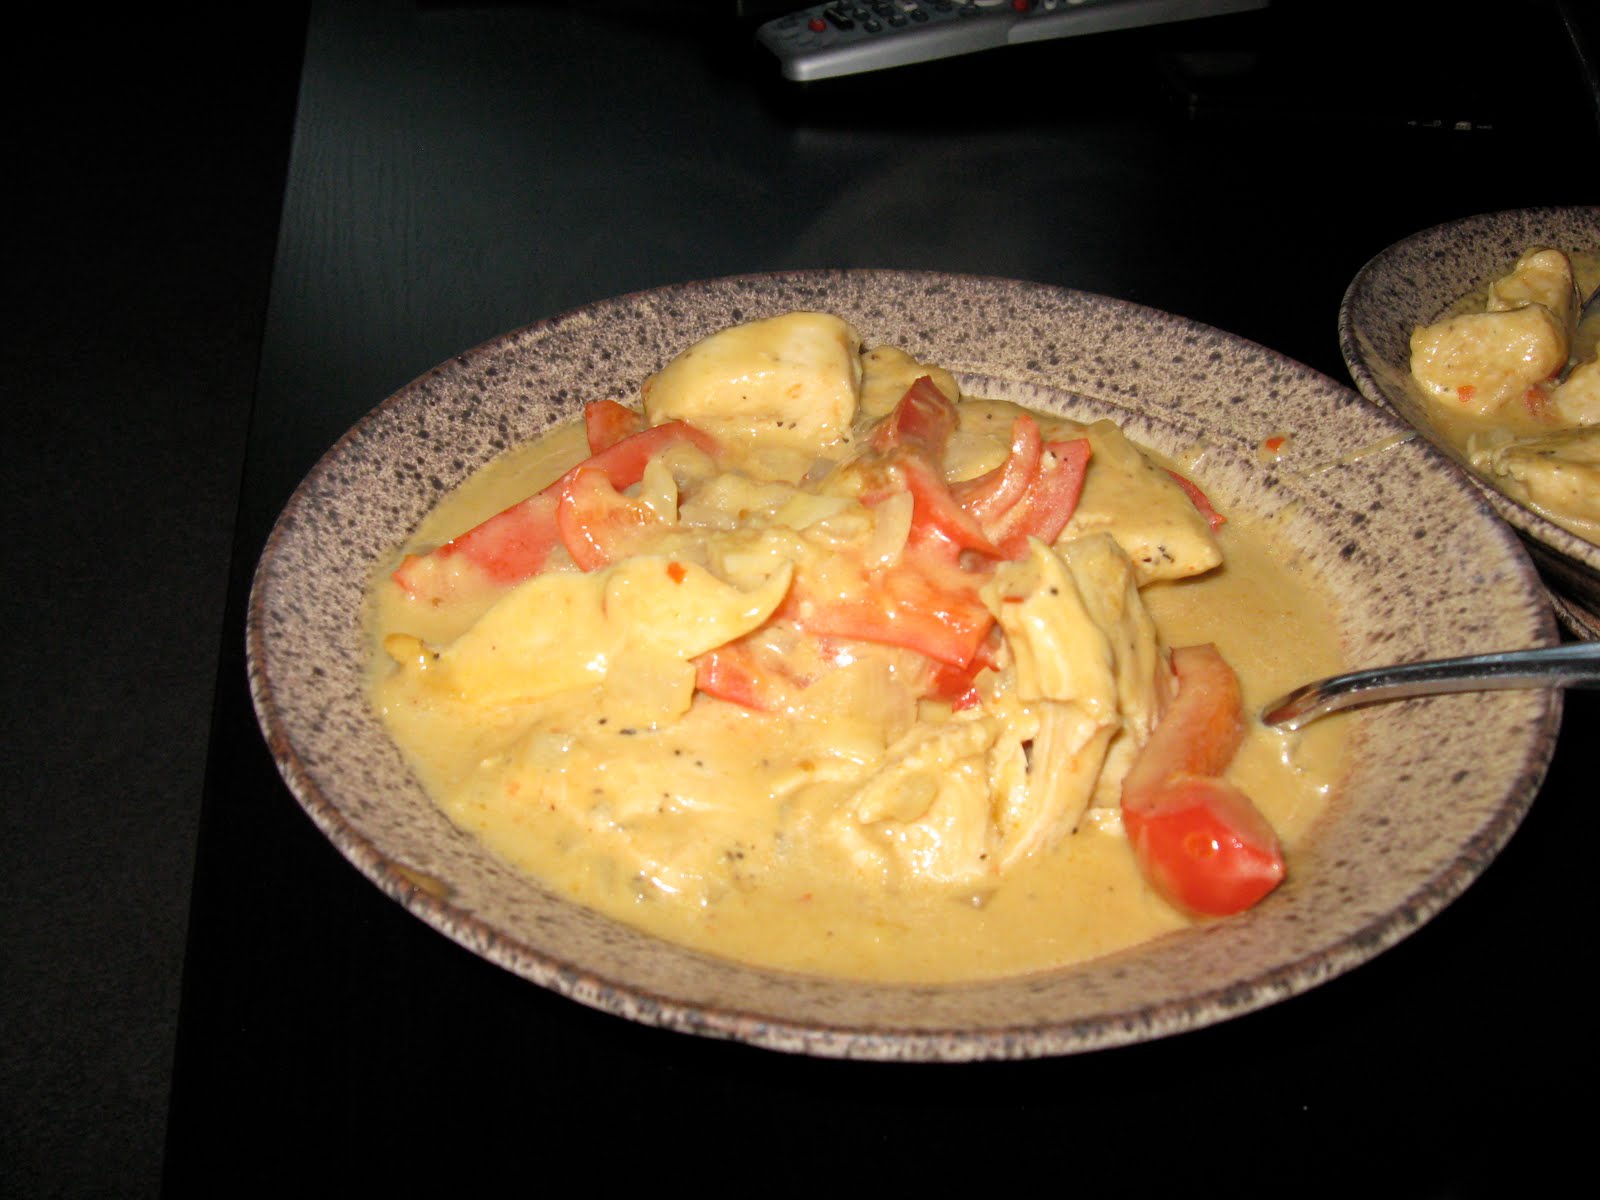

Pour in a bowl and serve!! Delicious. We were very happy with this simple, filling and flavorful dish.

Sunday, August 15, 2010

Button Magnets!!

Back in 2007, How about orange... posted a tutorial as to how to make fabric covered buttons into fabric covered pins. Then, in 2009, How about orange re-posted a tutorial as to how make these button/pins into magnets...the perfect project for little ol' me who is about to move into a new apartment and wants fancy new pretty things for it!

First, I bought this fabric button kit from jcarolinecreative.com; I bought two which totaled eight buttons:


Next, I went to a local yard sale and retrieved some fantastic fabric scraps for $1. I grouped these scraps with some old head scarfs of mine and created a large pool of pretty fabrics to choose from.
The kit comes with a white plastic tub, a blue pusher, button fronts and backs complete with sewing loops:


The kit also comes with a fabric sizing chart which shows the appropriate circle size for the specific buttons included, here is some fabric cut to my button size:


Once the fabric is cut, the process is super easy and really quick. Just place the fabric right side down onto the tub and place the button front on top.


Proceed to push the button front into the tub and fold the excess fabric into the cavity of the button front.

Next, remove the sewing loop from the button back (this will later be replaced by a magnet) with some pliers. This is by far the hardest part of the entire process and is easily completed within 10 seconds.


Place the button back on top of the folded in fabric and use the blue pusher to set it in place.


You get something that looks like this:


Pop the button out and voila! finished product!


These are what my eight look like. All I have to do now is go to the hardware store, buy some magnets and glue them to the backs!


All in all it was a really fun and quick project. I can't wait to see them on our fridge : )

Friday, July 23, 2010

new projects

A few nights ago I found this site and it is amazing. Lots of craft links, food links, and household links. Below are some of the projects I am looking forward to attempting in the future. They range from simply cutting fabric and draping it around your neck, to a full blown winter jacket that is SUPER adorable.

No-Sew Jersey Scarf
Japanese Coin Purse
Bicycle Frame Bag
T-Shirt Summer Sweater
Fabric Covered Magnets
Stash Baskets
Lots O' Bags
Reversible Coat

I can't wait for my new(ish) sewing machine to get here. One of the non-fabric crafts that I will attempt as soon as we move into our new place are make your own bath bombs. I don't know about you, but I LOVED bath bombs as a kid, they make baths that much more delectable. I hope to find really cute novelty ice cube trays and make bath bombs of all sorts. Mostly, I would enjoy finding little skulls, owls, or any other kind of stocky animal shapes. I could try these now but I don't have a clean bathtub to test them in and everything I've read says that they have a short shelf-life.

Tuesday, July 20, 2010

Salmon steaks, pineapple, and asparagus

Delicious!


On Saturday, Simon and I took advantage of a luxury that we will soon cease to have...a backyard and a grill. We enjoyed a wonderful dinner of salmon steaks, pineapple, and asparagus.

The salmon marinated for two hours in a mixture of brown sugar, soy sauce, evvo, and water, after being spiced with lemon pepper, and garlic powder. I really believe that marinating the fish made it stay super juicy during and after grilling. We grilled it with the skin on which kept the fat close to the fish, which also probably prevented the steaks from drying out.

The pineapple was freshly cut and just thrown on the grill naked. I really do like breaking down pineapples...it's really messy and a lot of fun.

The asparagus was given a generous coating of oil, salt, and pepper and were grilled for only a few minutes, but boy were they delicious.

The whole thing cost about $20 at the store, and Simon and I each got about two meals from it, amounting for 4 delicious, healthy, and filling dinners running about $5 each...that is pretty amazing if I do say so myself.

Sunday, July 4, 2010

New Projects!

I'm back! I have a two completed projects! Well...three...but I only have pictures of two of them. 1) During my long blogging hiatus, I have completed a very large knitted scarf that has proved wonderful during the snowy Boston winters.

On another note, a few months ago, my friend Lauren made me a beautiful skirt:


and I got the sewing bug!

Sewing has a long history in my family. My Grandmom Warner and Aunt Dianne were/are avid sewers. I told my aunt about the skirt project with Lauren and she sent up a massive amount of fabric for me to play with; and soon, she will be giving me a fancy sewing machine which used to belong to my Aunt Betty-Anne. yay, new toys!

However, the sewing machine won't be here until September, and then I need to learn how to use it, and well....I got impatient and decided to hand-sew a few projects.

I made a 4 square pillow will the scraps of my skirt and the left over stuffing from the toys I made for Micah and Zoe. Also, I put together a yoga mat bag!


The pillow was pretty easy. 8 squares, sewn together, stuffed, sewn shut. Easy-peezy-lemon-squeezy.


it's actually really comfortable.

The yoga mat proved more difficult since I did not have a pattern, I just made it up myself. It is complete with a carrying strap with adjustable D-ring fasteners, and a cinching top closure. This fabric came from my Aunt Dianne and I really, really love the pattern/colors. I initially wanted to make clothing out of it but the squares are slightly to big for my ever-so slight frame.


I had some difficulty with gauging the diameter of the bag since the yoga mat can vary in size depending on how tightly it is rolled, and the mat is also very grippy so I had to made the bag loose enough to easily slide over the bag. After a few tries I managed to get it right.


While I didn't have any patterns, I did look up a few different yoga mat designs on the internet. I found a few that had flat bottoms, a-la this bag. Which would have been super easy but I really didn't like the way it looked. I went a head and attempted securing a circular bottom. It wasn't fun to sew it together, but all in all it worked pretty well. I was left with a bit of a fold at the end, but it tucked in nicely and isn't proving harmful or unattractive. I'm assuming I just measured it incorrectly.


And there we have it! New toys and I saved probably $20-30 by making my own yoga bag, and the pillow will look really nice in our new apartment...as long as I don't wear the skirt any where near it...