Monday, September 26, 2011

Paper Flowers: la segunda parte


I haven't been terribly crafty recently. I keep falling victim to the TV or to reading the incredibly long, and incredibly addictive, George R. R. Martin Game of Thrones series. I have managed to make some more paper flower prototypes...and this time...they're yellow!


Not too long ago, my newly appointed maid-of-honor, the lovely Lauren C., came over to our place to help us experiment with making churros (post to come later this week). While she was here, the three of us brainstormed the best way to color book pages: paint? spraypaint? if so, how? before shaping the flowers? after construction?

Lauren then came up with the obvious answer: use the RIT dye I bought to dye buttons! I already have the leftover dye and I know that I like the shade of yellow it produces. <- this is why she's my MOH.


Total success. It almost became a disaster when I forgot about the fact that PAPER flowers dunked in to LIQUID dye must DISSOLVE. In my blissful ignorance I attempted to get a stronger yellow color by submerging the flowers for far too long - resulting in some frantic separating, reshaping, and flattening of the petals. I think a quick dunk would have done the trick. Or maybe numerous dunks over a longer time period with the flowers drying between treatments. 
  

The color difference is phenomenal. I did have to use a more white book page for the yellow dye to take; but I'm super happy with the results.  


Saturday, August 6, 2011

Paper Flowers

While searching the blogs I've come across a number of beautiful paper flowers, particularly ones made out of book pages. Using these tutorials, I've made some prototypes with various kinds of glue (Elmer's and hot glue) to see what holds best. I think hot glue is winning...also, hot glue is super fun to play with; and don't we want to have fun while crafting?


I won't say what these will eventually be used for, but I'm pretty sure people can guess which future event they'll be used for.


They are really simply to make. The rose is merely cutting a spiral and rolling it up. At first it looks totally wrong but if you plop it down on a table and let it settle into itself, it really becomes a beautiful bloom.


These ones are more time consuming. Each petal is an individual sheet out paper which are ultimately glued together. I really think the final product is beautiful and worth the effort.

Sunday, July 17, 2011

Button Dyeing

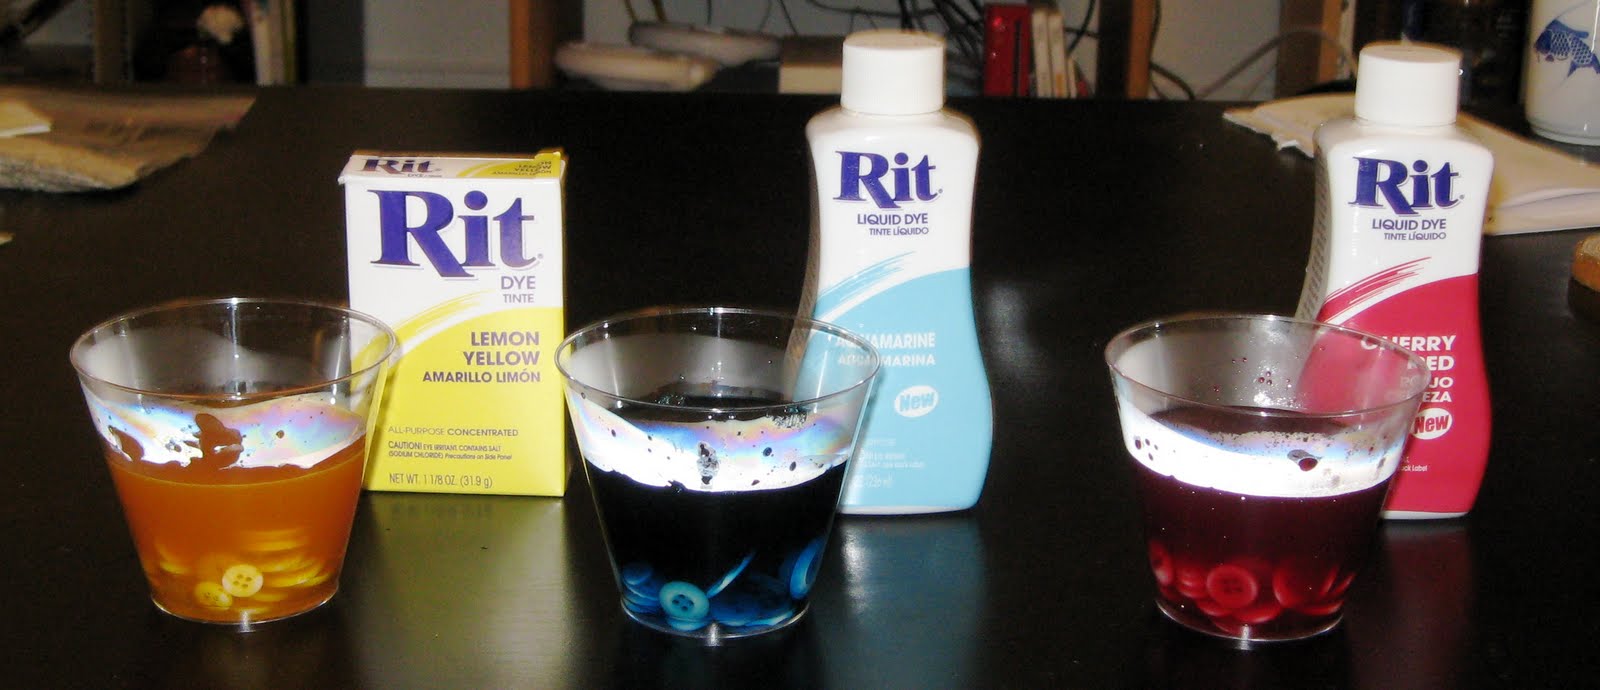
Rit Dye is known for its product's ability to color fabric. A lesser-known use for the dye is to color buttons; that's right: buttons. How convenient for little ol' me who recently acquired this giant mason jar of more buttons than I know what to do with. The process is incredibly easy; it's a matter of combining hot water, dye, and buttons. The website provides exact measurements; but I adjusted the amounts as I went.

The box is a powder dye which is far more concentrated than the liquid, so it requires less to achieve the desired color.


I only dyed a small amount of buttons this time around. And, I used only plastic cups and tools (spoons to fetch the buttons) which I didn't mind throwing away after I was done.


Voila! They are more pastel than I initially desired - very Easter-y. The buttons are beautiful. All the different cracks and scratches resulted in various shades of saturation. These three are my favorite:


All in all, the whole project took about 20 minutes. My buttons are now residing in the bottom of a wine carafe, surrounding some glass-blown yellow roses.

Friday, July 8, 2011

Tweet tweet

I made a bag!

A beautiful tote bag.

This is a small accomplishment of which I am very proud. It's the first thing I've sewn with a real pattern and using actual sewing techniques; rather than making it up from my own little imagination.


Gather Here, a small shop in Inman Square, holds really fun lessons in sewing, embroidery, knitting, crochet, and crafts. A few friends of mine attending an embroidery class and fell in love with the wicked awesome shop owner/instructor and the beautiful fabrics like the black bird/cherry blossom pattern above. I gave it a shot on their recommendation and fully intend to return for everything else I can possible weasel my way in to.

Wednesday, July 6, 2011

Paper Hearts

As the post below states, Simon and I are engaged! yay!! He proposed on our 5 year anniversary and the ring could not be more beautiful. I am happy beyond belief : )

We're going to do a long engagement, hopefully getting married sometime in Spring 2013 - which is great, because I would love the wedding to be mostly DIY; and two years gives me plenty of time to try out some crafts.

Mostly, I'd like to tie in some vintage books in to the overall decor of the wedding. One idea I've had is to punch out paper hearts and scatter them around whatever we end up using as centerpieces. And what luck! Martha Stewart makes a heart-shaped paper punch!

Super easy and surprisingly entertaining to use. The little heart shaped punch comes in two pieces, a base and a punch, in between which you place the paper. Each piece has magnets which attract each other to prevent the paper from slipping or moving during the punching process.


The intended purpose of the punch is to make a negative design on the paper to be used - which is why it comes with a small border of dots. I, however, am just saving the would-be trash...and vacuuming up all the little dots.


See! beautiful! I have the amount of about 1/3 of a sandwich bag right now. I love the way they look, and it makes for a pleasant craft while watching TV. I hope to fill the sandwich bag and use them in the wedding in one way or another.


* I am using an old copy of my favorite text - Jane Eyre - of which I have numerous editions. It's sort of a twisted and dark love story, so the text on the hearts is certainly not gushymushysquishyloveydovey text.